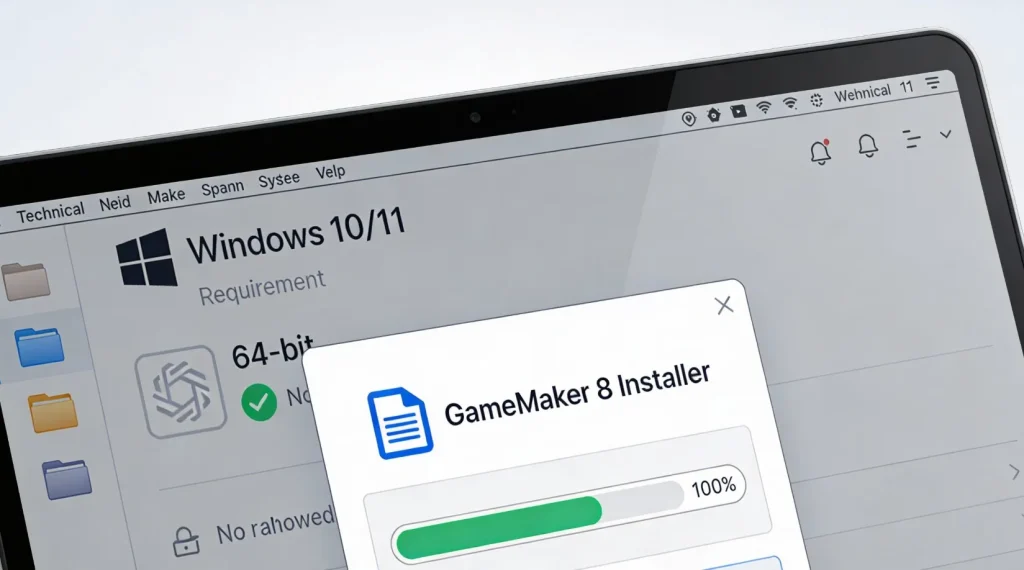
GameMaker 8 is an outdated but still widely used game development engine, especially among hobbyists, students, and developers who want to work with legacy projects or learn classic 2D game logic. Despite its age, many users continue trying to install GameMaker 8 on modern systems like Windows 10 and Windows 11. This often leads to errors, crashes, missing files, or the program refusing to launch at all.
The problem is not that GameMaker 8 is completely incompatible with modern Windows versions. The issue is that it was designed for older system architectures, different security rules, and outdated dependencies. With the right preparation and installation approach, GameMaker 8 can still run stably on Windows 10 and 11. This guide explains how to do it correctly, why errors happen, and how to avoid the most common mistakes.
Why GameMaker 8 Has Problems on Windows 10 and 11
GameMaker 8 was created in an era when Windows XP and early versions of Windows 7 were standard. Modern Windows versions handle permissions, memory access, and system folders very differently. As a result, older software often runs into conflicts.
The most common reasons GameMaker 8 fails include outdated installer behavior, blocked registry access, restricted write permissions, and missing legacy components that newer systems no longer install by default. Antivirus software can also interfere, incorrectly flagging old executables as suspicious.
Understanding these limitations is important because most installation errors are not random. They are predictable and can be prevented with the right setup.
Preparing Your System Before Installation
Before installing GameMaker 8, it is important to prepare Windows properly. Skipping this step is one of the main reasons users encounter errors later.
You should make sure Windows is fully updated, as compatibility layers are improved through updates. It is also strongly recommended to temporarily disable real-time antivirus scanning during installation, as older installers are sometimes blocked without warning.
Another crucial detail is the installation location. GameMaker 8 should never be installed into system-protected directories like Program Files or Program Files (x86). These folders restrict write access and cause saving, compiling, and exporting errors later.
A simple preparation checklist looks like this:
- confirm Windows updates are installed,
- close unnecessary background applications,
- disable antivirus temporarily,
- plan to install the program in a custom folder (for example,
C:\GameMaker8).
This small amount of preparation significantly increases installation success.
Choosing the Right GameMaker 8 Version
There are several versions of GameMaker 8 available online. The most commonly encountered are GameMaker 8.0 and GameMaker 8.1. While both can work, GameMaker 8.1 is generally more stable on modern systems because it includes late fixes released before the engine was discontinued.
GameMaker 8.0 can still run, but users report more frequent crashes and export issues. If you have a choice, always use version 8.1, especially on Windows 11.
Installing GameMaker 8 Correctly
Once the system is prepared and the correct installer is ready, the installation itself is straightforward, but a few details matter.
Start by running the installer as administrator. This allows the program to create necessary registry entries and configuration files. Skipping this step can cause silent failures where the installation appears successful but the program does not work properly.
When selecting the installation path, choose a simple custom folder, such as C:\GM8 or C:\GameMaker. Avoid special characters and deep directory nesting, as some older tools struggle with long paths.
After installation completes, do not launch the program immediately. Additional compatibility settings should be applied first.
Applying Compatibility Settings After Installation
Windows 10 and 11 include built-in compatibility modes designed specifically for older software. These settings are often essential for GameMaker 8.
Locate the GameMaker executable file, right-click it, open Properties, and navigate to the Compatibility tab. Here, enabling compatibility mode for Windows XP (Service Pack 3) or Windows 7 often resolves launch and stability issues. Running the program as administrator should also be enabled permanently.
These settings help GameMaker 8 interact with modern system libraries more reliably and prevent crashes on startup.
Common Installation Errors and How to Fix Them
Despite proper installation, some users still encounter errors. Most of these issues have simple explanations.
One frequent problem is GameMaker failing to save projects or preferences. This almost always means the program does not have write access to its folder. Installing outside protected directories and running as administrator fixes this.
Another common issue is missing DLL errors. These usually occur when older runtime components are not present. Installing legacy Visual C++ redistributables often resolves this without further changes.
License activation errors can also appear, especially with older Pro versions. In many cases, these are related to registry permissions rather than actual license problems.
Common GameMaker 8 Errors and Solutions
| Error Type | Likely Cause | Recommended Fix |
|---|---|---|
| Program does not start | Compatibility conflict | Enable XP or Windows 7 mode |
| Cannot save projects | Permission restrictions | Install outside Program Files |
| Missing DLL messages | Legacy runtime missing | Install older VC++ packages |
| Random crashes | Antivirus interference | Exclude folder or disable temporarily |
| License issues | Registry access blocked | Run as administrator |
This table summarizes the most frequent problems users face and how they are usually resolved.
Exporting Games on Windows 10/11
One area where users often struggle is exporting games after installation. GameMaker 8 can still compile Windows executables, but export failures usually come from path issues or missing permissions.
Keeping project files in a simple directory structure helps. Avoid saving projects in folders synced with cloud services, as background syncing can interfere with file access during compilation.
Performance and Stability Expectations
Even when installed correctly, GameMaker 8 is not optimized for modern hardware. It will run smoothly for small and medium projects, but very large projects may encounter memory limits due to the engine’s age.
That said, for learning purposes, prototyping, and maintaining older projects, GameMaker 8 remains perfectly usable. Many developers continue to rely on it precisely because of its simplicity and low system requirements.
Should You Still Use GameMaker 8 Today?
Using GameMaker 8 on Windows 10 or 11 makes sense if you are maintaining legacy projects, learning classic game logic, or following older tutorials. It is not recommended for modern commercial development, but as a learning tool, it still has value.
The key is understanding its limitations and installing it correctly from the start.
Conclusion
Installing GameMaker 8 on Windows 10 or Windows 11 without errors is entirely possible, but it requires attention to detail. Most problems arise from permission conflicts, outdated compatibility expectations, or incorrect installation paths.
By preparing your system, choosing the right version, applying compatibility settings, and avoiding protected directories, you can run GameMaker 8 reliably even on the latest Windows versions. With these steps, the engine remains a functional and accessible tool for classic game development.